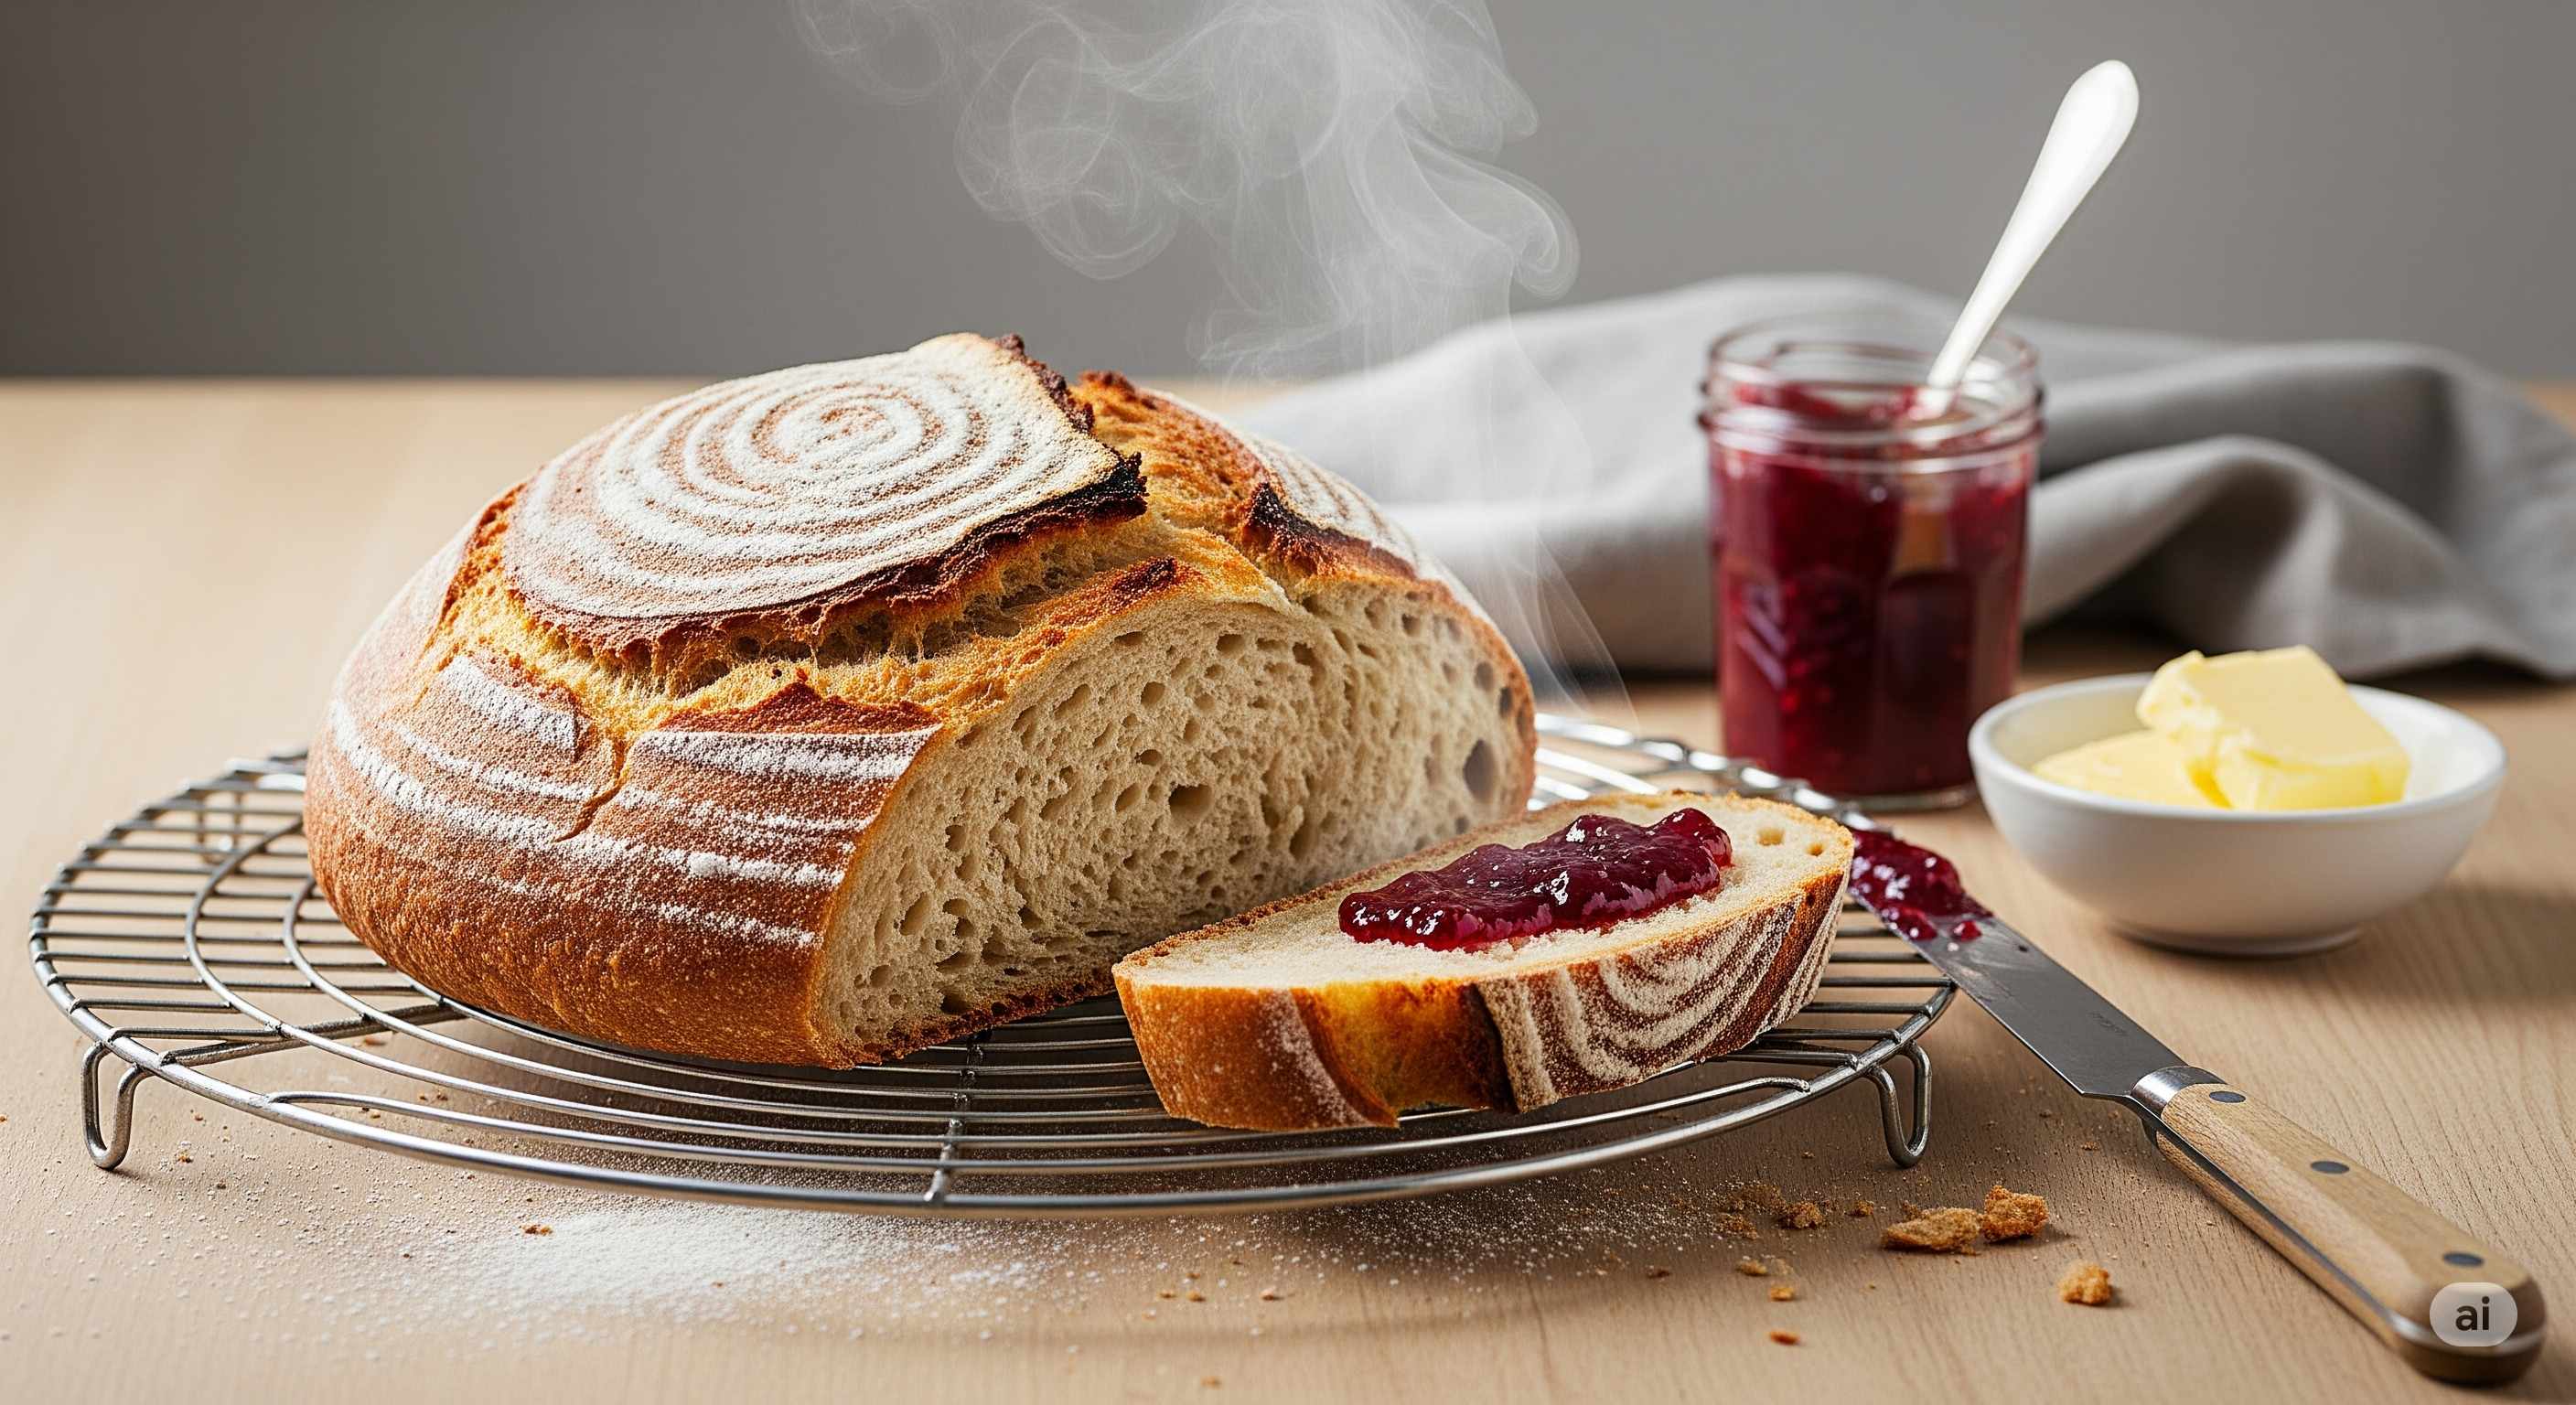
This artisan sourdough bread boasts a wonderfully tangy flavor and a satisfyingly chewy crumb, encased in a beautifully crisp crust. Originating from ancient bread-making traditions, its unique taste comes from a fermented "starter." Perfect for an impressive weekend baking project or to elevate any meal, from breakfast toast to hearty sandwiches.
Ingredients
Directions
In a large mixing bowl, combine the 350g lukewarm water and 100g active sourdough starter. Stir gently to combine.
Add the 500g strong bread flour and mix with your hands or a Danish dough whisk until no dry flour remains. It will be a shaggy, sticky dough. This is the autolyse stage, which helps develop gluten.
Cover the bowl with a damp cloth or plastic wrap and let it rest for 30 minutes to 1 hour.
After the autolyse, sprinkle the 10g fine sea salt over the dough. With wet hands, gently incorporate the salt by squeezing and folding the dough for 2-3 minutes. The dough will become slightly more cohesive.
Cover the bowl again. Over the next 3-4 hours, perform a series of "stretch and folds" every 30 minutes. To do this, with wet hands, gently grab a portion of the dough, stretch it upwards, and fold it over itself. Rotate the bowl and repeat until you have stretched and folded all sides (4-6 times per set). This builds strength in the dough.
After the last stretch and fold, cover the bowl and let the dough continue to bulk ferment at room temperature (ideally 20-24°C / 68-75°F) for another 8-12 hours, or until it has noticeably increased in volume (by 30-50%) and has a bubbly surface. The exact time will depend on your room temperature and starter activity. You can also place it in the refrigerator overnight for a longer, slower fermentation (up to 12-18 hours).
Lightly flour your work surface. Gently tip the dough out of the bowl onto the floured surface. Avoid deflating it too much.
Gently pat the dough into a rough rectangle. Perform a "preshape" by folding the top third down, then the bottom third up, like a letter. Then, fold the sides in towards the middle. Gently cup your hands around the dough and pull it towards you to create surface tension, forming a loose ball.
Cover the preshaped dough with a damp cloth or bowl and let it rest for 20-30 minutes. This allows the gluten to relax.
Lightly flour your work surface and the top of the dough. Gently flip the dough over.
For a boule (round loaf): Gently pull the top of the dough up and fold it to the middle. Rotate the dough 180 degrees. Repeat this process, working your way around the dough, pulling and folding, until you have a tight, round ball with a taut surface.
For a bâtard (oval loaf): Start by folding the top edge down to the center. Then take one side and fold it over to the opposite side, pressing gently to seal. Repeat with the other side. Finally, roll the dough down from the top to create an oval shape, ensuring a tight seam at the bottom.
Generously flour a banneton (proofing basket) or a bowl lined with a floured linen or cotton cloth. Carefully transfer the shaped dough, seam-side up, into the banneton.
Cover the banneton with a plastic bag or plastic wrap and transfer it to the refrigerator for cold proofing for 12-16 hours (or up to 24 hours). This slow proofing develops flavor and makes the dough easier to handle.
Preheat your oven to 230°C (450°F) with a Dutch oven inside for at least 30 minutes to 1 hour. The Dutch oven needs to be very hot.
Carefully remove the hot Dutch oven from the oven. Gently invert the dough from the banneton directly into the hot Dutch oven (seam-side down).
Using a sharp razor blade or a lame, score the top of the dough with a design of your choice (e.g., a cross, a single slash). This helps the bread expand evenly during baking.
Cover the Dutch oven with its lid and bake for 20 minutes.
Remove the lid and continue to bake for another 25-35 minutes, or until the crust is a deep golden brown and the internal temperature reaches 96-99°C (205-210°F).
Carefully remove the loaf from the Dutch oven and transfer it to a wire rack to cool completely for at least 2-3 hours before slicing. Slicing too early will result in a gummy texture.
Rustic Sourdough Loaf
Serves: 10 People
Prepare Time: 5 Hours
Cooking Time: 24 Hours
Calories: 200
Difficulty:
Medium
This artisan sourdough bread boasts a wonderfully tangy flavor and a satisfyingly chewy crumb, encased in a beautifully crisp crust. Originating from ancient bread-making traditions, its unique taste comes from a fermented "starter." Perfect for an impressive weekend baking project or to elevate any meal, from breakfast toast to hearty sandwiches.
Ingredients
Directions
In a large mixing bowl, combine the 350g lukewarm water and 100g active sourdough starter. Stir gently to combine.
Add the 500g strong bread flour and mix with your hands or a Danish dough whisk until no dry flour remains. It will be a shaggy, sticky dough. This is the autolyse stage, which helps develop gluten.
Cover the bowl with a damp cloth or plastic wrap and let it rest for 30 minutes to 1 hour.
After the autolyse, sprinkle the 10g fine sea salt over the dough. With wet hands, gently incorporate the salt by squeezing and folding the dough for 2-3 minutes. The dough will become slightly more cohesive.
Cover the bowl again. Over the next 3-4 hours, perform a series of "stretch and folds" every 30 minutes. To do this, with wet hands, gently grab a portion of the dough, stretch it upwards, and fold it over itself. Rotate the bowl and repeat until you have stretched and folded all sides (4-6 times per set). This builds strength in the dough.
After the last stretch and fold, cover the bowl and let the dough continue to bulk ferment at room temperature (ideally 20-24°C / 68-75°F) for another 8-12 hours, or until it has noticeably increased in volume (by 30-50%) and has a bubbly surface. The exact time will depend on your room temperature and starter activity. You can also place it in the refrigerator overnight for a longer, slower fermentation (up to 12-18 hours).
Lightly flour your work surface. Gently tip the dough out of the bowl onto the floured surface. Avoid deflating it too much.
Gently pat the dough into a rough rectangle. Perform a "preshape" by folding the top third down, then the bottom third up, like a letter. Then, fold the sides in towards the middle. Gently cup your hands around the dough and pull it towards you to create surface tension, forming a loose ball.
Cover the preshaped dough with a damp cloth or bowl and let it rest for 20-30 minutes. This allows the gluten to relax.
Lightly flour your work surface and the top of the dough. Gently flip the dough over.
For a boule (round loaf): Gently pull the top of the dough up and fold it to the middle. Rotate the dough 180 degrees. Repeat this process, working your way around the dough, pulling and folding, until you have a tight, round ball with a taut surface.
For a bâtard (oval loaf): Start by folding the top edge down to the center. Then take one side and fold it over to the opposite side, pressing gently to seal. Repeat with the other side. Finally, roll the dough down from the top to create an oval shape, ensuring a tight seam at the bottom.
Generously flour a banneton (proofing basket) or a bowl lined with a floured linen or cotton cloth. Carefully transfer the shaped dough, seam-side up, into the banneton.
Cover the banneton with a plastic bag or plastic wrap and transfer it to the refrigerator for cold proofing for 12-16 hours (or up to 24 hours). This slow proofing develops flavor and makes the dough easier to handle.
Preheat your oven to 230°C (450°F) with a Dutch oven inside for at least 30 minutes to 1 hour. The Dutch oven needs to be very hot.
Carefully remove the hot Dutch oven from the oven. Gently invert the dough from the banneton directly into the hot Dutch oven (seam-side down).
Using a sharp razor blade or a lame, score the top of the dough with a design of your choice (e.g., a cross, a single slash). This helps the bread expand evenly during baking.
Cover the Dutch oven with its lid and bake for 20 minutes.
Remove the lid and continue to bake for another 25-35 minutes, or until the crust is a deep golden brown and the internal temperature reaches 96-99°C (205-210°F).
Carefully remove the loaf from the Dutch oven and transfer it to a wire rack to cool completely for at least 2-3 hours before slicing. Slicing too early will result in a gummy texture.