
There is something unique about the sound of the ice cream maker running during summer days, isn't it? It is such a sound that takes me back to my childhood memories when I would sit on the stairs of the veranda, waiting patiently for the first spoon of that cold, home-made ice cream.
If you have just got the Nostalgia Ice Cream Maker, get ready to make some such memories for yourself! I know it can be a little scary the first time you try it—so much ice and rock salt—but trust me, it’s a lot easier than it looks. Consider me your friend, and let’s go on this delicious journey together. We’ll teach you how to make the creamiest and funniest ice cream in no time.
My Pro Tips for Perfect Ice Cream Every Time
Before we talk about recipes, let’s talk about preparation. These are some of the little secrets I've learned from my experience making salon ice cream (and some mistakes!) that make the biggest difference.
- Chill Your Base: First of all, and this is my most important rule, chill your ice cream base properly. I make my base the night before and store it in the fridge. A cold base sets faster, which means the ice crystals are smaller and the texture is extra creamy.
- Don't Skimp on Salt: Don't be too lazy to add salt. Nostalgia makers use ice and rock salt to make it super cold. Rock salt is best, but you can use kosher or table salt if needed. Salt lowers the freezing point of the ice, which creates super-chilled salty water that freezes your canister quickly and evenly.
- Layer Ice and Salt: When setting up the machine, don't put everything in at once. Place the canister in the bucket and then add the ice and salt in layers. A good ratio is about 6 cups of ice with half a cup of rock salt.
- Never Overfill: Never overfill your canister! Your ice cream mixture will expand when it sets, and it needs room to expand. Overfilling can put stress on the motor and create a mess.
- Embrace Fat and Sugar: Ice cream is not a bad idea, and that’s okay! Fat (from heavy cream and milk) and sugar are essential for a soft, scoopable texture. They prevent big, crunchy ice crystals from forming.
My Tried-Out Nostalgia Ice Cream Maker Recipes
Here are three classic recipes that are nearly foolproof. This is the perfect canvas for all your ice cream dreams!
Creamiest Classic Vanilla Bean Ice Cream
This is the recipe I always come back to. It's simple, delicious and the perfect base for any toppings or mix-ins.
You'll need:
- 2 cups heavy cream
- 1 cup whole milk
- ¾ cup cream
- 1 ½ teaspoons pure vanilla extract (or the seeds of a vanilla bean for that piquant look!)
- A pinch of salt
How to make:
- In a bowl, combine the cream and salt with the milk until the cream starts to melt.
- Add heavy cream and vanilla extract and mix.
- Transfer this wonderful mixture to your chilled nostalgia canister. Remember these two rules!
- Assemble your ice cream maker, layering ice and rock salt around the canister.
- Turn it on and let it run for about 25-30 minutes. The motor will probably stop when it's ready. It will have a texture similar to soft-serve.
- For a hard, scoopable ice cream, transfer it to an airtight container and freeze for at least 2 hours.
Rich and Dreamy Chocolate Ice Cream
For all the chocolate lovers out there, this one is for you. The use of Dutch-processed cocoa powder gives it a deep, rich flavour that is simply unmatchable.
You need:
- 2 ½ cups milk
- 1 cup cheese
- 2 tablespoons cocoa powder
- 1 ½ cup cream
- ½ tablespoon vanilla essence
How to make:
- In a medium bowl, combine the cheese, cocoa powder and salt.
- Slowly mix the milk and beat until everything is dissolved and soft.
- Add heavy cream and vanilla.
- Pour the mixture into your canister, assemble the machine with the ice and salt, and run for about 20-30 minutes.
- If you want chocolate chunks, add them in the last 5 minutes.
- Freeze for a few hours in an airtight container until hard.
Fresh and Fruity Strawberry Ice Cream
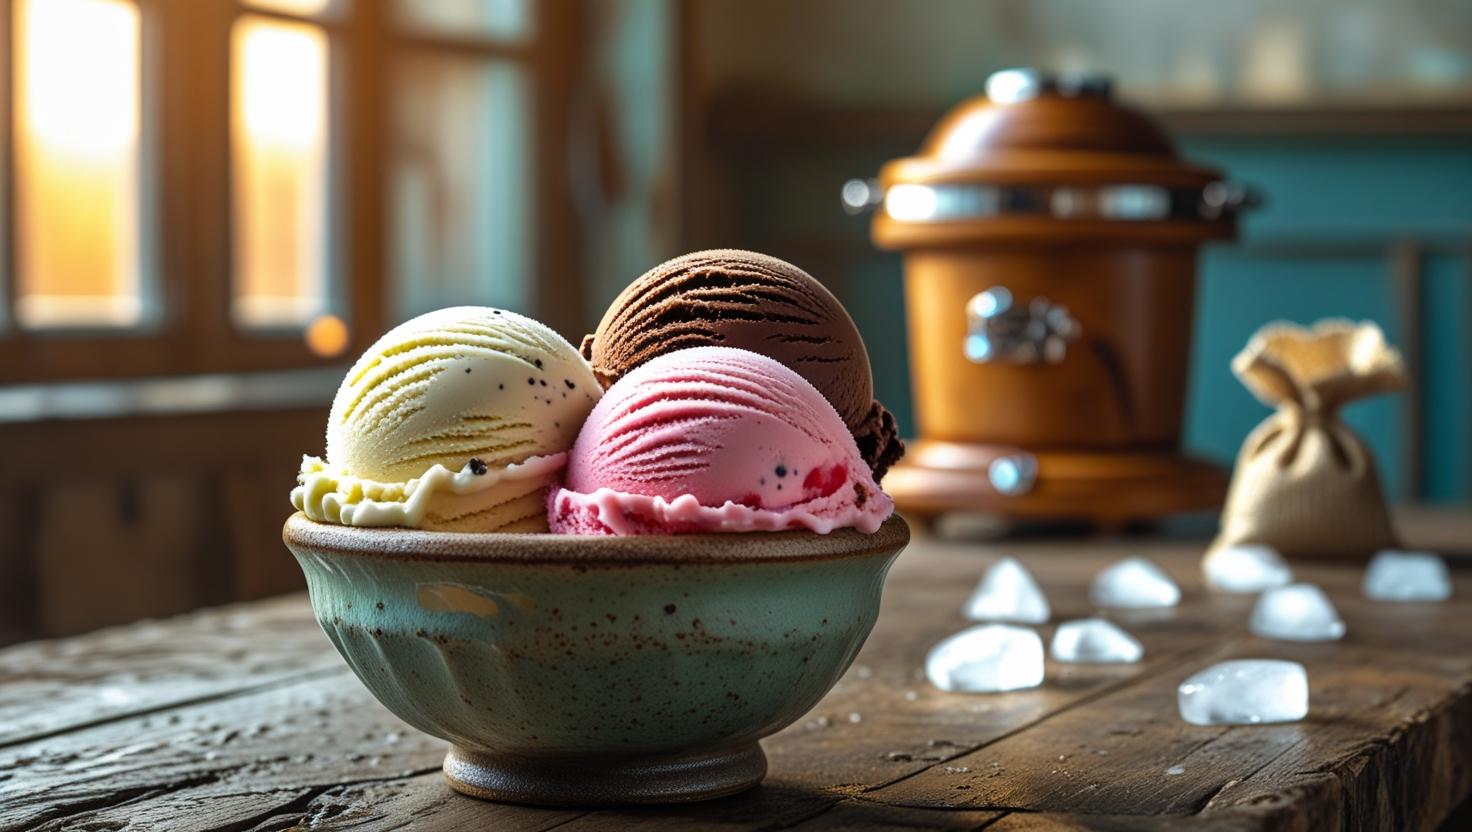
Make this when strawberries are in season. It's like summer in a bowl.
You'll need:
- About 1 lb fresh strawberries, chopped
- ¾ cup sugar (you can adjust according to the sweetness of your berries)
- 2 cups heavy cream
- 1 cup whole milk
- 1 teaspoon vanilla extract
How to make:
- In one bowl, gently mash the chopped strawberries with about ¼ cup of sugar. Let it sit for about 20-30 minutes to extract the juice.
- In a separate large bowl, combine the remaining sugar with the milk, cream and vanilla.
- Pour your strawberry mixture into the juice and mix.
- Place it in your Nostalgia canister and follow machine instructions.
- Freeze until done and get ready for a blast of fresh flavor!
Having trouble? Let's work together to solve the problem
Sometimes things aren't exactly right, and that's okay! It happened to me. Here are some common problems and ways to fix them:
- "My ice cream is too soft or sticky." This is the most common problem and usually means the mixture freezes too slowly, forming large ice crystals. Next time, make sure your base and canister are extra cold and that you're using enough rock salt.
- "My ice cream is too soft and won't harden." There are a few reasons for this. Your base may have been too hot, or your machine is in a hot room. It could also be that the recipe contained too much sugar or alcohol, which lowers the freezing point. Remember, this will only take the machine to soft-serve; final strength is in the freezer.
- "My machine's motor stopped quickly." Don't panic! Check that the dasher isn't stuck by a large piece of ice. Also, make sure there’s a good mixture of ice and water around the canister—if it’s just ice, add a little more salt or water to help things go further.
Antim Shabdh: Go Make Some Memories!
Your Nostalgia Ice Cream Maker is more than just a service; it’s a memory-making machine. It’s fun to layer ice and salt, exciting to watch it run, and the pure joy of that first delicious bite.
So please, don't let your maker get dusted. Start with these simple recipes, and then let your creativity run wild! Add your favorite candy, swirl some caramel, or experiment with different fruits.
I'd love to see what you make. Feel free to comment below with your favorite flavor combination or tag me in your ice cream photos online. Happy churning
Sources